Retour aux guides
Guide de stratégieVérifié March 10, 2026

Guide de tous les boss

Guide complet de stratégie pour tous les 11 boss de STS2, avec valeurs de PV, schémas d'attaque, transitions de phase et contre-stratégies concrètes par type de deck.

Co-op party fighting the Terror Eel boss in the Underdocks
A co-op party faces an Underdocks boss encounter — one of eleven bosses covered in this guide.

Slay the Spire 2 compte 11 boss répartis en trois actes, et la structure des actes alternatifs signifie que vous ne verrez pas le même pool de boss à chaque partie. Certains boss testent le timing de votre rafale, d'autres punissent la faible gestion des états négatifs, et certains imposent simplement un chronomètre implacable.

Ce guide convertit les données communautaires actuelles en une référence pratique. Chaque boss a sa propre section avec les informations les plus utiles connues : structure de phases, tours dangereux, préparation recommandée et quels types de deck tendent à performer ou à s'effondrer dans le combat.

Note de vérification

Schémas d'attaque et valeurs de PV vérifiés avec les données de Mobalytics, analyses de TheGameSlayer, guides de Deltia's Gaming et rapports communautaires.

Résumé rapide

Ce guide se concentre sur une question pratique précise, pour que vous puissiez le consulter pendant une partie sans avoir à lire un résumé général.

Si la réponse dépend d'une mécanique, d'un système de personnage ou d'un patch récent, les liens associés vous indiquent quoi consulter ensuite.

Utilisez-le comme référence rapide en partie, pas comme une encyclopédie.

Si la décision implique une mécanique ou un système de personnage, consultez aussi les pages liées.

Les changements d'équilibrage peuvent modifier les recommandations : vérifiez les pages de mises à jour.

Ceremonial Beast (Act 1a - Overgrowth)

Ceremonial Beast is an early burst-timing check. The fight is at its easiest before the stun threshold and becomes dramatically worse once Ringing restricts your card plays.

  • Expect a non-damaging setup turn first, then heavy hits that scale with Strength.
  • At roughly 150 HP, the boss becomes Stunned and drops its accumulated Strength. That is your cleanest burst window.
  • After the stun, Ringing limits you to 1 card per turn, so lingering too long in phase 2 is how stable decks lose.
  • Weak, Disarm, and frontloaded damage are the best answers. Multi-hit attacks also convert the stun window into more damage than single big swings.

Kin Priest (Act 1a - Overgrowth)

Kin Priest is the clearest early AoE test. The main body is not the real problem; the adds are, because they create the pressure that makes the fight spiral.

  • The fight gets harder if the side units survive long enough to keep feeding heals, buffs, or debuffs into the board state.
  • AoE is ideal, but cheap single-target attacks still work if you kill one add quickly and reduce the incoming pressure.
  • Artifact and debuff prevention matter more here than they do in most other Act 1 fights.
  • If you cannot clear the side units, treat this as a tempo race, not a scaling fight.

Vantom (Act 1a - Overgrowth)

Vantom punishes decks that rely on a few large attacks. Slippery reduces every hit to chip damage until you spend enough attacks removing the stacks.

  • The tail slam turn is the real danger point. That is the turn you must block hardest or pre-empt with Weak.
  • Cheap multi-hit tools like Shivs, Anger, Dagger Spray, or Claw strip Slippery much faster than one expensive hit.
  • Once Slippery is gone, your burst matters again, but the fight gets more dangerous every cycle because damage continues to escalate.
  • Ironclad and Silent usually handle this better than slow one-card-per-turn setups.

Lagavulin Matriarch (Act 1b - Underdocks)

Lagavulin Matriarch is the classic setup check. The sleep phase is not flavor text; it is the reason the fight can be favorable if your deck actually has engines worth deploying.

  • Use the sleep turns to deploy Powers, setup relic interactions, or expensive engine cards you would hate drawing under pressure.
  • If your deck has no meaningful setup, waking the boss earlier can be better than wasting dead turns.
  • The awakened phase hits much harder than STS1 players expect, so this is not a free nostalgia fight.
  • Poison and persistent scaling perform well because the boss gives you time to establish them.

Soul Fysh (Act 1b - Underdocks)

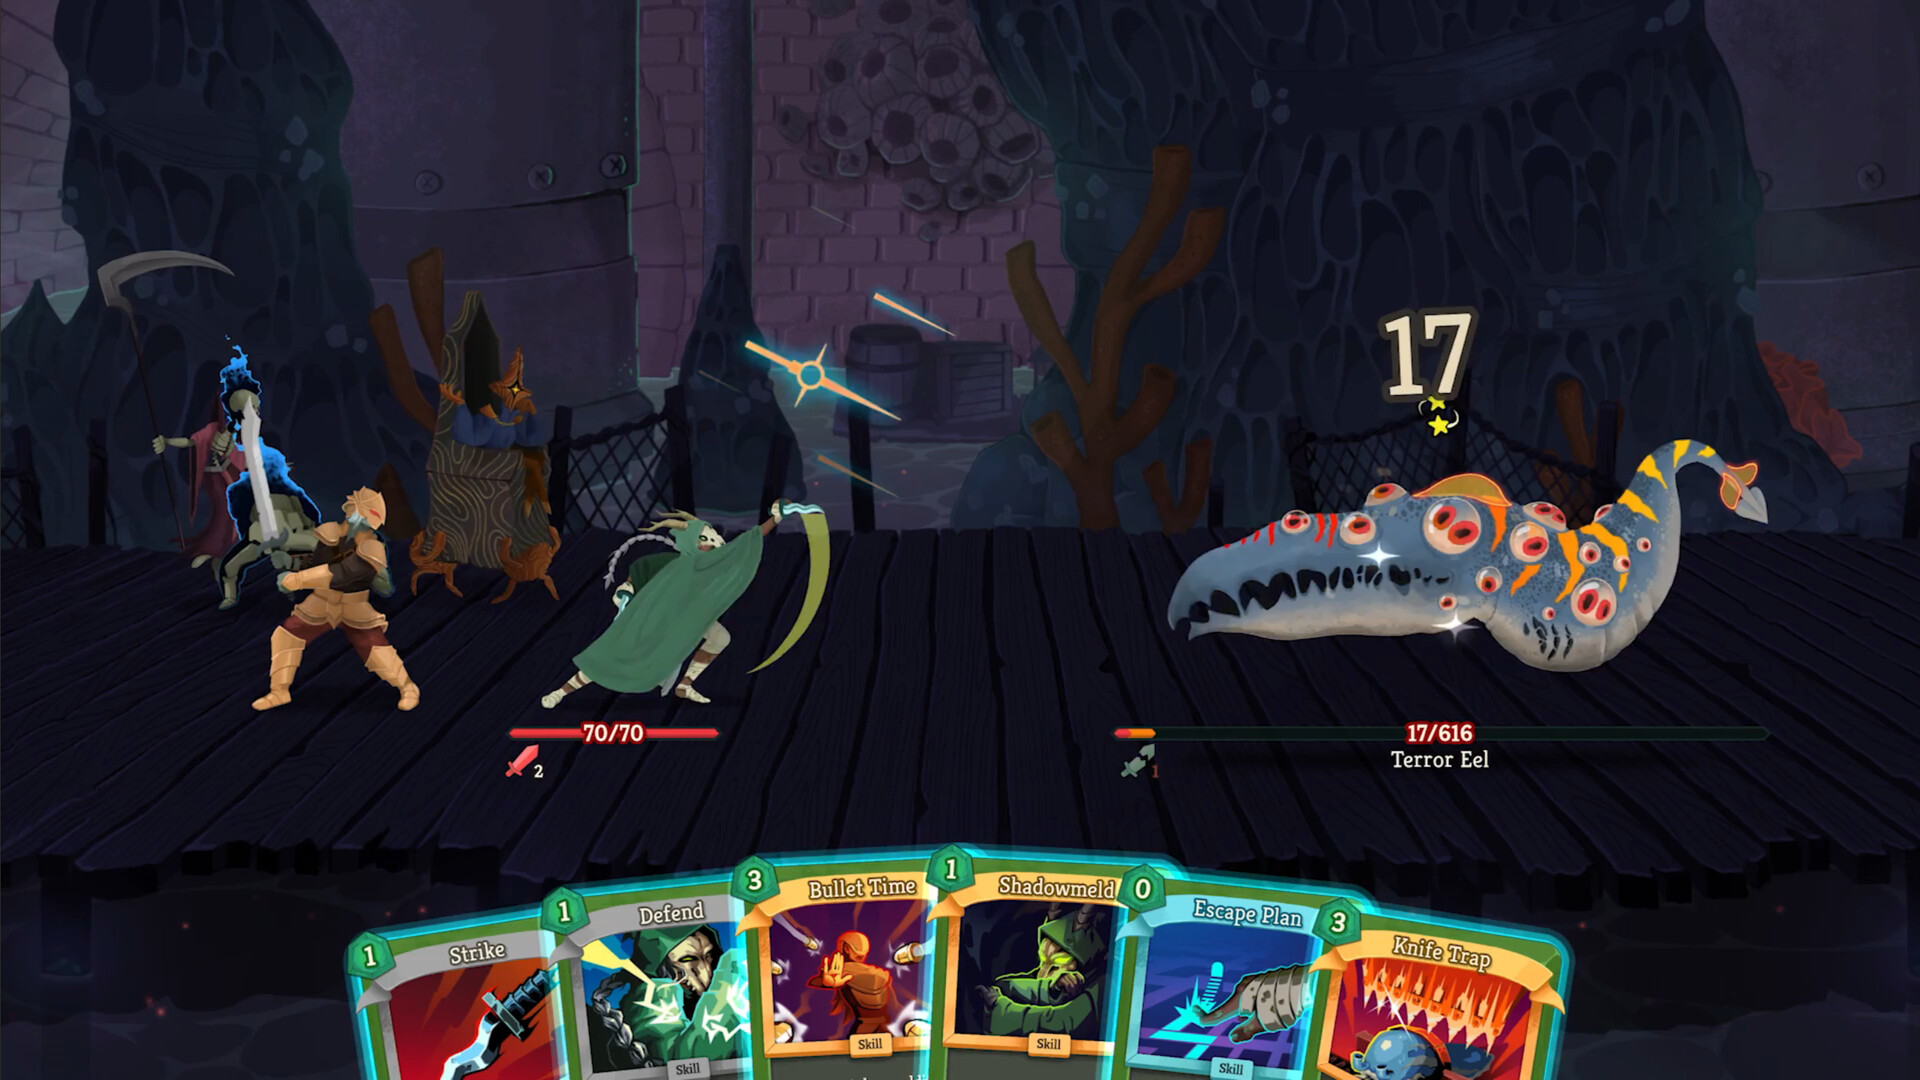
Soul Fysh is one of the nastiest deck-management fights in the game. Beckon cards create unblockable pressure if you cannot play or discard them cleanly, and Intangible compresses your damage windows.

  • The dangerous loop is simple: Beckon taxes your energy, then Vulnerable and Intangible make each mistake more expensive.
  • Turns before Intangible are your damage window. Turns during Intangible are for blocking, discarding status, and preparing the next burst cycle.
  • Acrobatics, Burning Pact, Calculated Gamble, and other cheap discard/exhaust tools are unusually strong here because they neutralize Beckon overhead.
  • If your deck cannot manage statuses efficiently, this fight feels much worse than its raw HP suggests.

Knowledge Demon (Act 2 - 380 HP)

Knowledge Demon is a hard DPS check disguised as a pattern fight. Every full cycle permanently improves the boss while also weakening your deck through the forced debuff choice.

  • The three-hit strike is the turn that punishes weak block packages the hardest.
  • The runes turn matters almost as much because the boss heals and gains permanent Strength at the same time.
  • Disintegration is usually the least harmful debuff choice; Sloth and Sap are the ones most decks should avoid if possible.
  • If you are trying to outlast this boss with passive defense, you are usually already losing. Kill speed is the real answer.

The Insatiable (Act 2 - Sandpit timer)

The Insatiable is the cleanest clock boss in the current game. Sandpit means the fight has a literal expiry timer, so all the usual "play safe and stabilize" instincts become traps.

  • Frantic Escape exists to buy time, not to solve the fight. You still need enough damage to end the encounter before the timer and scaling both overwhelm you.
  • Only play the timer reset cards when you truly need them. Spending too much energy on safety loses the same way greed does.
  • Slow Poison and Doom setups perform much worse here than their general strength would suggest.
  • Burst, energy generation, and immediate damage matter more than premium block.

Kaiser Crab (Act 2 - Hive)

Kaiser Crab went from placeholder data in the old guide to a real matchup you can plan for. Community consensus still varies on exact numbers, but the important strategic pattern is clear: Block walls plus escalating claw pressure.

  • The fight alternates between denying your normal damage line and threatening you with heavy multi-hit pressure.
  • Poison is one of the best answers because it bypasses the Block problem entirely.
  • Strength and Doom also scale into the fight better than medium-value fair damage.
  • If your deck needs long setup and cannot punish the open windows, Kaiser Crab becomes one of the roughest Act 2 bosses.

Doormaker (Act 3 - ~420 HP)

Doormaker is not the fastest killer, but it is one of the longest endurance fights. The portals extend the encounter, so the total work your deck has to do is much higher than the boss HP line suggests.

  • The boss periodically vanishes and forces you to clear Disappearing Doors before returning.
  • Because the fight drags, sustainable scaling and reliable block beat one-shot burst plans.
  • Poison, Doom, Strength stacking, and Barricade-style defense all gain value here.
  • Treat the fight as attrition. If your deck only has one big spike, it often runs out of real work after the first cycle.

Test Subject #C10 (Act 3 - 3 phases, 600 total HP)

Test Subject is still the hardest boss in the current build because every phase asks for a different answer and phase transitions wipe away the debuffs that many top decks rely on.

  • Phase 1 rewards attack-heavy turns because Skill-heavy turns feed the boss too much value.
  • Phase 2 punishes unblocked hits by dirtying your deck with Wounds, so defense becomes part of your damage plan.
  • Phase 3 creates burst windows around Intangible turns, which means timing matters as much as output.
  • Poison and Doom are much worse here than against The Queen because all that setup gets reset between phases.
  • Raw Strength, consistent block, and decks that can rebuild pressure repeatedly are the most reliable answers.

The Queen (Act 3 - 2 phases)

The Queen is the new Act 3 boss added in the richer PR data. She is dangerous for a different reason than Test Subject: instead of resetting your progress, she constrains your hand through Bind and asks whether your deck can still function when your natural sequencing is disrupted.

  • Phase 1 revolves around the Summon, which you want dead before it scales too far out of range.
  • Phase 2 is the real Queen fight and the Bind mechanic is the signature problem: 3 cards in hand are locked together and only 1 of them can be played.
  • Mid-turn draw partially cheats this restriction, so draw-heavy decks gain real value here.
  • Unlike Test Subject, debuffs persist across phases. That makes Poison and Doom much better against The Queen than many players first assume.
  • Single huge attacks or repeatable high-value attacks also perform well because the fight punishes quantity of card plays more than quality of each play.

Deck archetype matchups

Boss strength is not universal. A deck that farms Vantom can fold to The Insatiable, and a build that destroys The Queen can look terrible into Test Subject. The point of this section is to make that mismatch explicit.

  • Strength scaling is the most consistent all-boss archetype, though Vantom still taxes oversized single hits.
  • Poison is excellent into Kaiser Crab, Lagavulin Matriarch, and The Queen, but weak into The Insatiable and Test Subject.
  • Doom has almost the same matchup profile as Poison for the same reason: great when debuffs persist, bad when the fight resets or clocks you.
  • Multi-hit decks are premium into Vantom and strong into Kin Priest and Ceremonial Beast, but they lose value when a long attrition fight needs scaling more than hit count.
  • Draw-heavy decks overperform against The Queen because mid-turn draw helps bypass Bind.

General boss preparation

Boss prep starts long before the last campfire. The map preview, your current deck holes, and which status effects you can answer matter more than generic "upgrade vs rest" advice in the abstract.

  • Check the boss portrait on the map and draft for the fight you are actually walking into.
  • Upgrade damage cards if hallway survival is already stable; otherwise preserve HP first.
  • Save potions for the boss unless an elite will end the run before then.
  • Status management matters more than usual in this game. Soul Fysh and The Insatiable punish decks that cannot clear dead draws.
  • Apply Weak whenever possible. It meaningfully lowers damage from Ceremonial Beast, Vantom, Knowledge Demon, and the Queen's support phase.

FAQ

Quel est le boss le plus difficile de Slay the Spire 2 ?

Le Sujet de Test #C10 reste le plus difficile globalement car il nécessite trois réponses différentes en un seul combat et efface votre configuration de débuffs entre les phases.

Comment vaincre L'Insatiable avant que le chronomètre de sables mouvants ne me tue ?

Traitez-le comme une course aux dégâts d'abord et un combat de contrôle ensuite. Utilisez Fuite Frénétique uniquement quand vous avez besoin de gagner du temps et dépensez le reste de votre énergie pour terminer le combat avant que le chronomètre et l'escalade de Force ne convergent.

Le Poison et la Fatalité sont-ils efficaces contre tous les boss ?

Non. Ils sont excellents contre les boss où les débuffs persistent, notamment La Reine et le Crabe Empereur, mais bien pires contre le Sujet de Test car les transitions de phase effacent votre configuration.