Welcher ist der schwierigste Boss in Slay the Spire 2?
Testsubjekt #C10 bleibt insgesamt der schwierigste, da er drei verschiedene Antworten in einem einzigen Kampf erfordert und eure Debuff-Konfiguration zwischen den Phasen löscht.
Vollständiger Strategie-Guide für alle 11 Bosse in STS2, mit LP-Werten, Angriffsmustern, Phasenübergängen und konkreten Gegenstrategien pro Decktyp.
Slay the Spire 2 hat 11 Bosse verteilt auf drei Akte, und die Struktur der Alternativen Akte bedeutet, dass ihr nicht in jeder Partie denselben Boss-Pool seht. Einige Bosse testen das Timing eurer Schadensexplosion, andere bestrafen schwaches Debuff-Management, und einige verhängen schlicht einen gnadenlosen Timer.
Dieser Guide wandelt aktuelle Community-Daten in eine praktische Referenz um. Jeder Boss hat seinen eigenen Abschnitt mit den nützlichsten bekannten Informationen: Phasenstruktur, gefährliche Runden, empfohlene Vorbereitung und welche Decktypen dazu neigen, im Kampf gut abzuschneiden oder zusammenzubrechen.
Verifizierungshinweis
Angriffsmuster und LP-Werte abgeglichen mit Mobalytics-Daten, TheGameSlayer-Analysen, Deltia's Gaming-Guides und Community-Berichten.
Kurzzusammenfassung
Dieser Guide behandelt eine konkrete Frage, damit du ihn während eines Runs nutzen kannst, statt einen langen Überblick durchzulesen.
Falls die Antwort von einer Mechanik, einem Charaktersystem oder einem aktuellen Patch abhängt, zeigen dir die verlinkten Seiten, was du als Nächstes lesen solltest.
Nutze ihn als Entscheidungshilfe im Run, nicht als Enzyklopädie.
Wenn die Frage eine Mechanik oder ein Charaktersystem betrifft, schau auch in die verlinkten Seiten.
Balance-Änderungen können Empfehlungen verschieben – prüfe die Update-Seiten.
Auf dieser Seite
Ceremonial Beast is an early burst-timing check. The fight is at its easiest before the stun threshold and becomes dramatically worse once Ringing restricts your card plays.
Kin Priest is the clearest early AoE test. The main body is not the real problem; the adds are, because they create the pressure that makes the fight spiral.
Vantom punishes decks that rely on a few large attacks. Slippery reduces every hit to chip damage until you spend enough attacks removing the stacks.
Lagavulin Matriarch is the classic setup check. The sleep phase is not flavor text; it is the reason the fight can be favorable if your deck actually has engines worth deploying.
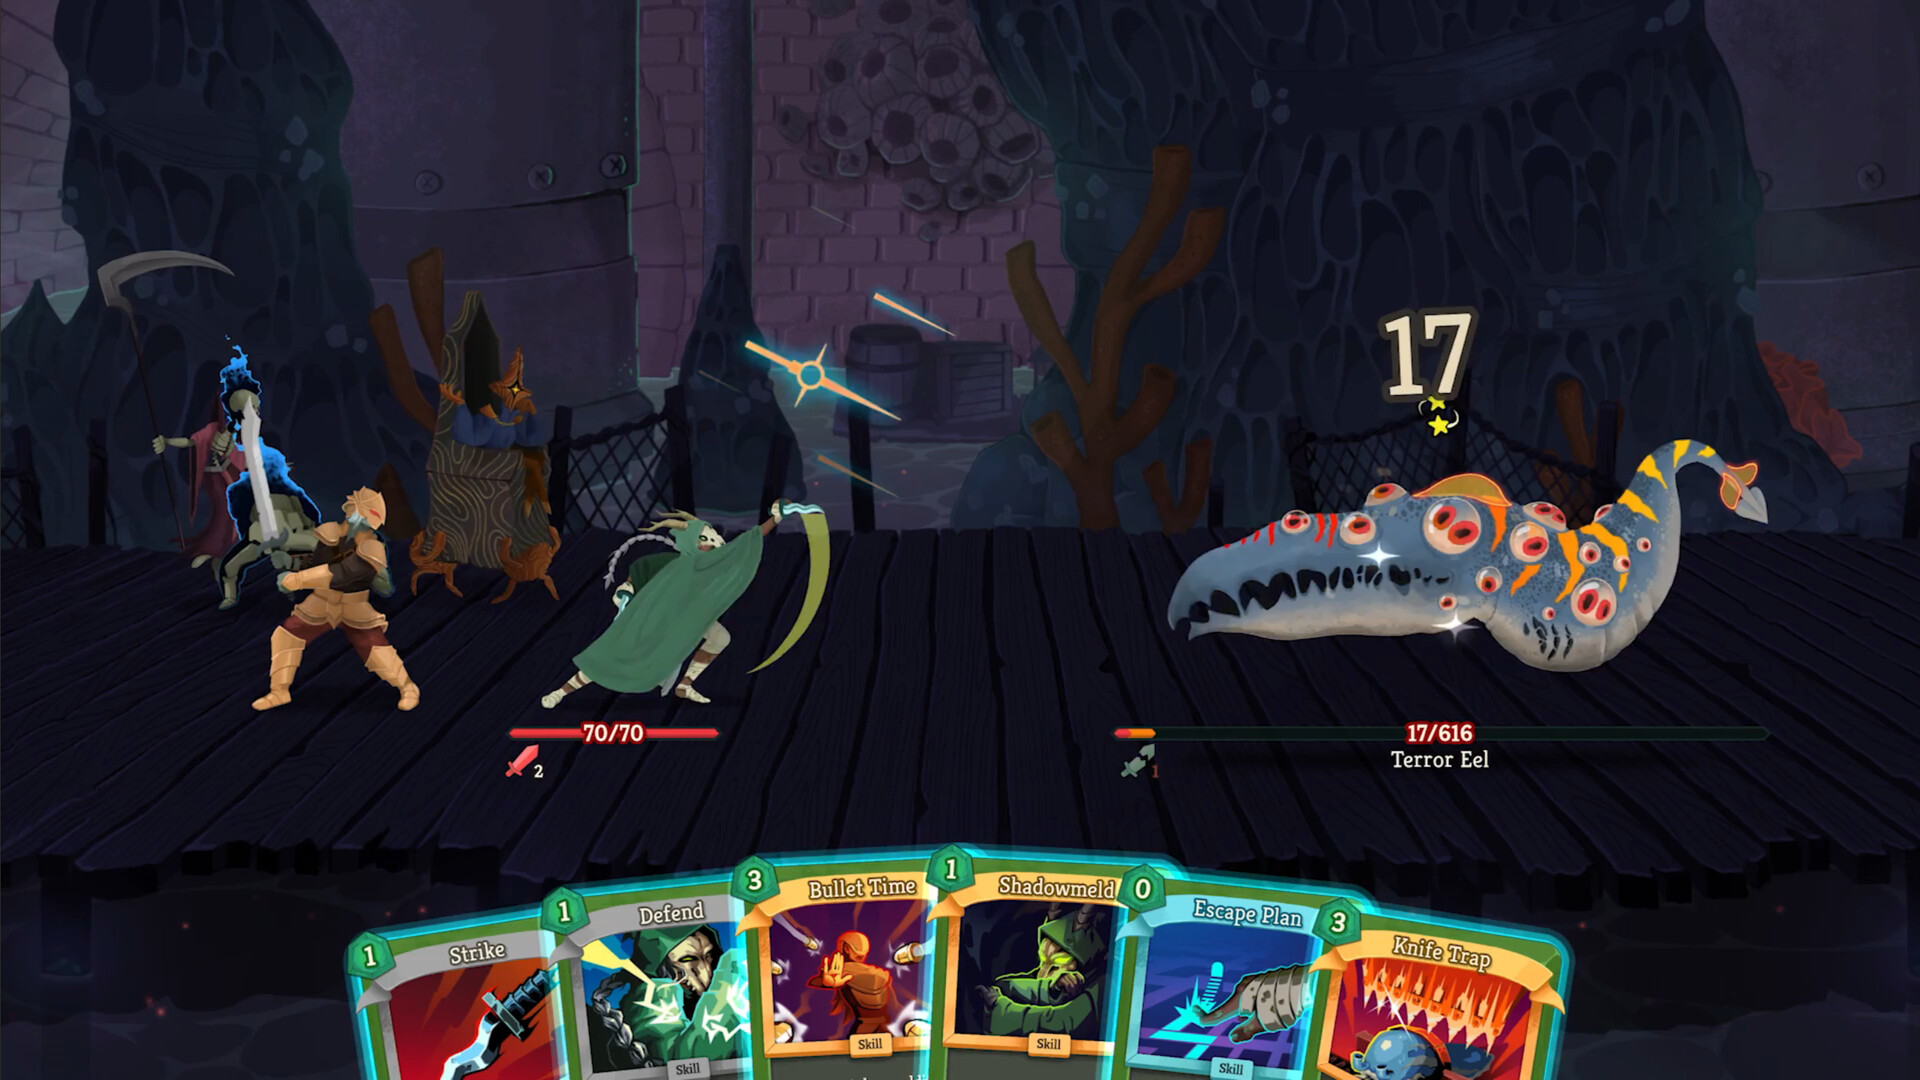
Soul Fysh is one of the nastiest deck-management fights in the game. Beckon cards create unblockable pressure if you cannot play or discard them cleanly, and Intangible compresses your damage windows.
Knowledge Demon is a hard DPS check disguised as a pattern fight. Every full cycle permanently improves the boss while also weakening your deck through the forced debuff choice.
The Insatiable is the cleanest clock boss in the current game. Sandpit means the fight has a literal expiry timer, so all the usual "play safe and stabilize" instincts become traps.
Kaiser Crab went from placeholder data in the old guide to a real matchup you can plan for. Community consensus still varies on exact numbers, but the important strategic pattern is clear: Block walls plus escalating claw pressure.
Doormaker is not the fastest killer, but it is one of the longest endurance fights. The portals extend the encounter, so the total work your deck has to do is much higher than the boss HP line suggests.
Test Subject is still the hardest boss in the current build because every phase asks for a different answer and phase transitions wipe away the debuffs that many top decks rely on.
The Queen is the new Act 3 boss added in the richer PR data. She is dangerous for a different reason than Test Subject: instead of resetting your progress, she constrains your hand through Bind and asks whether your deck can still function when your natural sequencing is disrupted.
Boss strength is not universal. A deck that farms Vantom can fold to The Insatiable, and a build that destroys The Queen can look terrible into Test Subject. The point of this section is to make that mismatch explicit.
Boss prep starts long before the last campfire. The map preview, your current deck holes, and which status effects you can answer matter more than generic "upgrade vs rest" advice in the abstract.
FAQ
Testsubjekt #C10 bleibt insgesamt der schwierigste, da er drei verschiedene Antworten in einem einzigen Kampf erfordert und eure Debuff-Konfiguration zwischen den Phasen löscht.
Behandelt ihn zuerst als Schadens-Wettlauf und danach als Kontroll-Kampf. Nutzt Panikflucht nur, wenn ihr Zeit gewinnen müsst, und verwendet den Rest eurer Energie darauf, den Kampf zu beenden, bevor Timer und Stärke-Skalierung konvergieren.
Nein. Sie sind hervorragend gegen Bosse, bei denen Debuffs bestehen bleiben, insbesondere die Königin und der Kaiserkrabbe, aber deutlich schlechter gegen das Testsubjekt, da Phasenübergänge eure Konfiguration löschen.
Sources
Mega Crit early access launch post
OfficialOfficial launch article for the current early access build.
Neowsletter: Alternate Acts
OfficialOfficial explanation of Overgrowth, the Underdocks, and the alternate-act structure.
Deltia's Gaming boss guide
AuthorityPer-boss strategy breakdowns with matchup notes and phase explanations.
GamerBlurb Insatiable boss guide
AuthorityDetailed Insatiable boss mechanics including the Sandpit timer system.
Mobalytics boss encounters
AuthorityCommunity-maintained boss database with attack patterns and strategy notes.
Phrasemaker boss encounters
AuthorityBoss encounter data with HP values, phase notes, and community strategy context.
TheGameSlayer boss guides
AuthorityDetailed per-boss strategy guides with attack cycle breakdowns.